 UBUCH ubuch | Honest Tech Reviews & Tutorials for Everyone
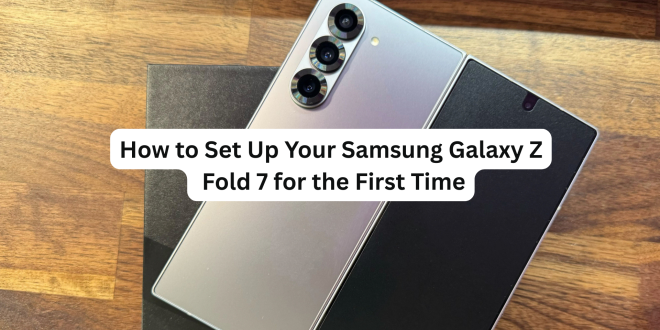
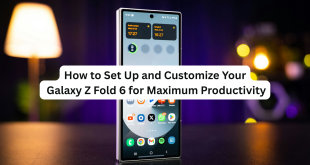
So, you’ve just unboxed the brand new Samsung Galaxy Z Fold 7 — congratulations! With its ultra-flexible design, powerful Snapdragon 8 Gen 3 chipset, and advanced multitasking features, it’s one of the most powerful foldables on the market in 2025.
Before you dive into exploring Flex Mode and snapping 200MP photos, let’s walk you through how to set it up properly to get the most out of your new device.
🛠️ What You’ll Need
Before you begin, make sure you have:
- A Wi-Fi connection or SIM card (for mobile data)
- Your Samsung or Google account credentials
- A backup of your old device (if transferring data)
- The S Pen Fold Edition (optional, but recommended)
✅ Step-by-Step Setup Guide
1. Power On and Unfold
Press and hold the power button until you see the Samsung logo. Once powered on, unfold the device gently — you’ll be guided through the setup process on the larger inner screen.
2. Choose Your Language and Region
Select your preferred language, region, and accessibility settings. Tap “Start” to move forward.
3. Connect to Wi-Fi or Insert SIM
Choose your Wi-Fi network and enter the password. If you’re using mobile data, insert your SIM card and wait for the device to detect the network.
4. Sign In to Google Account
Enter your Google account credentials. This lets you access apps, backups, and the Play Store. You can also enable Google Assistant at this step.
5. Transfer Data from Old Device (Optional)
Use Samsung Smart Switch to transfer data from:
- An old Android device via cable or wireless
- An iPhone using a Lightning-to-USB-C adapter or cloud sync
Samsung Smart Switch helps move everything — apps, contacts, messages, photos, and even home screen layouts.
6. Sign in to Your Samsung Account
A Samsung account unlocks exclusive features like:
- Samsung Cloud for backup
- Find My Mobile tracking
- Galaxy Store access
- Samsung Health & Knox Security
You can create one or sign in to an existing account.
7. Set Up Security Options
For maximum protection, enable:
- Fingerprint Unlock – Use the side-mounted sensor
- Face Recognition – Set up for quick unlock
- Secure Folder – For sensitive files and apps
You’ll also choose a backup PIN or pattern.
8. Customize Display Settings
Go into Settings → Display to adjust:
- Brightness
- Screen refresh rate (120Hz for smoother animations)
- Cover screen vs. main screen layouts
This is also where you’ll enable Dark Mode or Eye Comfort Shield.
9. Install Updates and Recommended Apps
Once connected, the phone may prompt you to install:
- Latest One UI updates
- Galaxy Essentials (Samsung Notes, Gallery, SmartThings)
- Third-party apps from your old device or Google suggestions
10. Explore Unique Galaxy Z Fold 7 Features
Once setup is complete, take a few moments to explore:
- Flex Mode: Try using the phone half-folded for video calls.
- Taskbar Multitasking: Drag and drop 3+ apps for true productivity.
- Dual Preview: Use rear camera with preview on the cover screen for selfies.
- S Pen Fold Edition: Take notes, sketch, and sign documents directly on screen.
🧠 Pro Tips for New Users:
- Turn on Auto Rotate for better app transitions between folded/unfolded modes.
- Use Edge Panels to access favorite apps and tools quickly.
- Enable Labs Settings under Advanced Features to optimize unsupported apps for foldable view.
🎉 Final Thoughts
The Galaxy Z Fold 7 isn’t just a smartphone — it’s a next-gen productivity machine and entertainment hub in your pocket. By setting it up the right way, you unlock all the advanced features Samsung has packed into this foldable powerhouse.
Once you’re up and running, don’t forget to explore the Galaxy Store, test out DeX mode, or connect to your Galaxy Watch or Buds for the full ecosystem experience.